Sketchup Screenshot
Friday 29 October 2010
Styrene Base Cladding and Research
I began applying styrene cladding to the outside of the base to cover the join between the laser cut wooden batons and the fomex box that forms the datum for the model (Below).
With the mid project crits taking place next week (mine being on Thursday) the project is likely to pick up pace very quickly from next week.
Tuesday 26 October 2010
Samples taking shape
Paul suggested I sand back the outer face to matte it down. The sanding also added a more defined look to the brickwork but I'm not sure about how white it appears to be (below sanded area on the right).
I also tried spraying directly onto an etched face which resulted in the complete loss of depth to the brick texture I liked about the sample above.
Using the same piece that I'd cleaned off I backsprayed directly onto the back. This result was ok but really lacked the definition of the brickwork and window detailing (see below).
To try a different way of giving depth to the windows I etched out the main window sections. These turned out partly successful. The main problem is with the laser cutter I used which Ed says is on its way out and doesnt etch as well as it should only doing a small section (center top in the pic below) to the correct finish. The sample still provides an indication of the recessed result I could produce (Ed thinks one of the other lasers could produce a better etch which I will try when I can get in there again).
(Settings used for the etched areas are block areas to black, Vector off, Half tone off, P100 S50, 1000hrz)
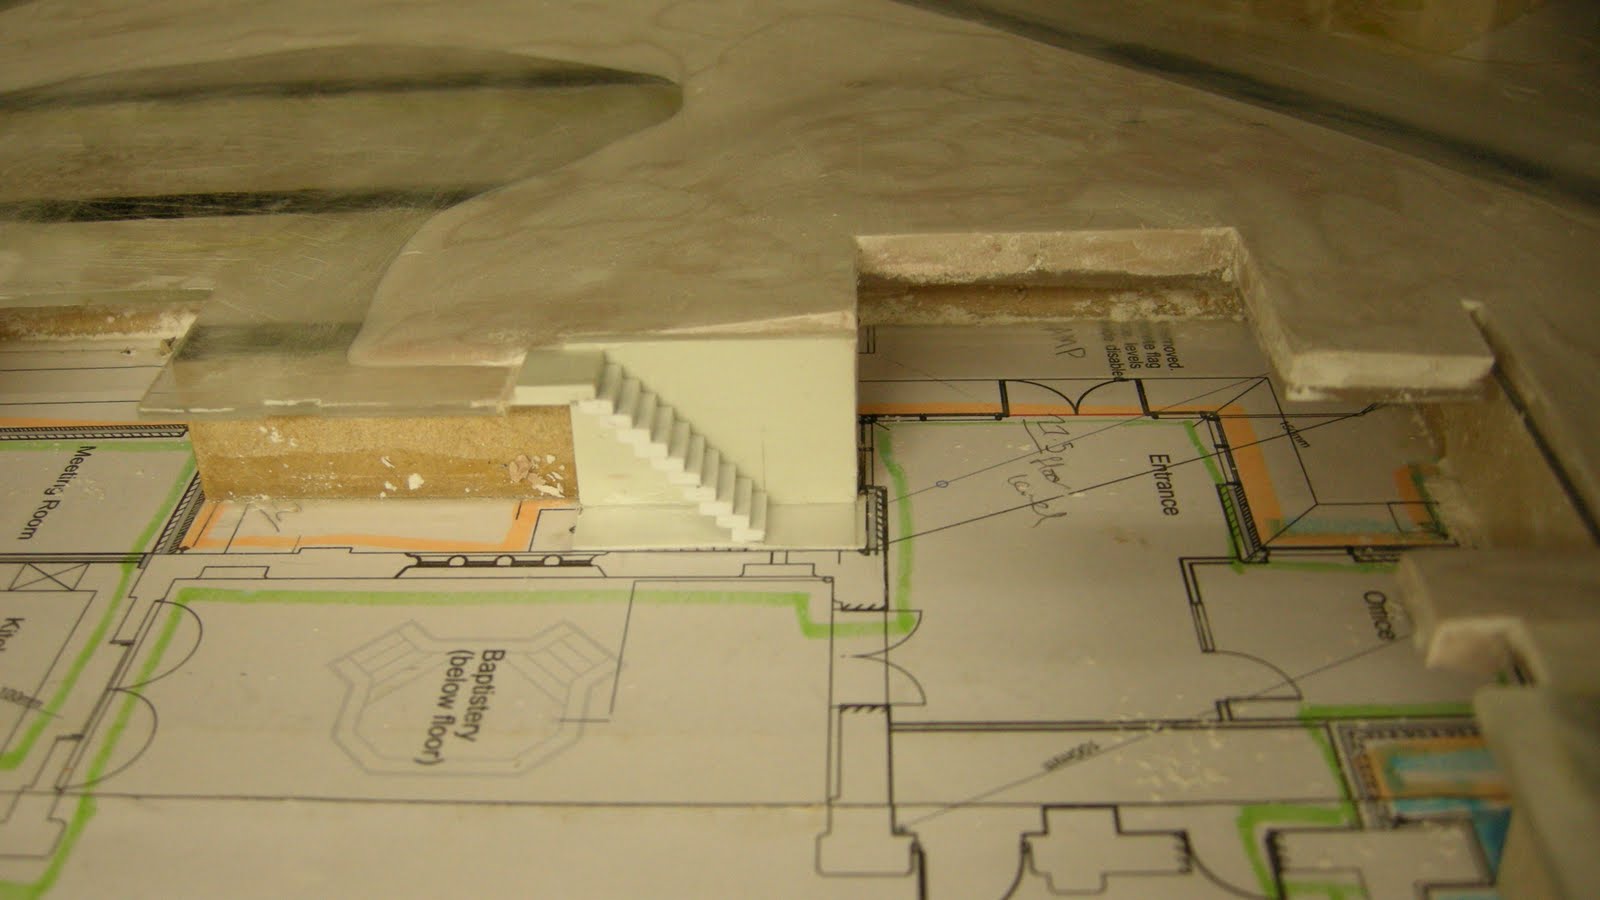
I also cut the pavement area and playing surface and applied them to the base. I need to do a little filling and blending with one section of the pavement but this wont be possible till I decide on material and size of the surrounding walls.
Feel like I've made at least a small bit of progress today.
Friday 22 October 2010
Concept model & rethinking sampling
The finished concept model looks quite astheticly pleasing and fits within the final base which will be good for photographs at a later stage in the development (see above and below).
I feel I really need to define exactly what parts of the model are going to be made and which sections of roof will be removable. Paul mentioned out mid way crits in around 10 days time. This has kicked me into gear and I will continue with the final construction next week. I am more concerned about my IS project which currently consists of little more than scattered notes and a blur of ideas in my head.
Tuesday 19 October 2010
In addition to this I tried out applying various sizes of micro strip to bring out certain details on the face of the building. I tried adding filler to the skirt of the building (see below). This looks good unpainted but a primer coat will show how true that is.
Monday 18 October 2010
Re-drawing and the need to be experimental
I have decided to redraw these to a better standard as I am confident I can achieve a better simplified likeness to the original detailing.
Friday 15 October 2010
More base work
The other doorway leading from the north eastern side of the new extension is less well defined. The sketch model shows a minor gradient running out from the doorway whereas the plans appear to have a much more defined ramp running out from the floor height leve (27.5mm from datum). I will attempt to smooth this out today to flow smoothly. These gradients should seem like a natural fit once painted and complete with the finished building (see below).
I have also started work on my Investigative Study project wich has slighly hindered my progess with this model. As this unit is now running alongside beyone the deadline I will have to work hard to keep up the pace. I will most likely devote 2+ hours to the IS in the library each day to keep ontop of it.
Tuesday 12 October 2010
Base Assembly Continues
I was also able to cut a maquette section of the church to test assembly (Below). Although this was fairly successful, the detailed window sections melted slighly due to the heat build up around the closer detail. I intend to produce a sheet of test settings to determine the best settings to use to maintain the detail in full.
I used a multitool in the workshop that oselated back and forth giving a surprisingly good clean cut to the foamex board. I used this to cut 26mm off the bottom of the base to take into account the 26mm depth needed to foot the building.
In the afternoon I was able to assemble the mdf batons on the base having removed 26mm excess foamex to bring the overall base height to 100mm including batons (Below). This seems to have been successful and although I have yet to fix down the acrylic top sheet, the strength provided seems more than enough.
Tomorrow I will look at alternate methods of assembly to change the eventual finished look. I will fix down the acrylic top sheet of the base which will enable me to begin filling out the gradients around the south east end of the church.
Will confirmed that the Uni have Tensol in stock which will save me buying a bottle for the case when I get round to making that towards the end of the project.
Monday 11 October 2010
I have not heard back from Jim DeSantis regarding the type of section into the building.
The time taken to correct the medium sized window section show above took approx 2hrs. It is important to remember this is the first I have done for this project so the rest should not take as long per window.
I spend most of this morning redrawing parts of the building elevations on Rhino to allow me to laser cut smaple maquettes over the next few days. I will produce a range of sample finishes to show to the architects aswell as allowing me to practise assembly of the building components (Screenshots above).
Note: Regarding the CAAD drawings provided by the architect; the vast majority of lines ar not joined or do not meet at intersections and will have to be checked prior to laser cutting.
I plan to spend the rest of the day redrawing as many sections of the building as possible as I can't get into the laser cutting room due to inductions. I'll keep checking on the off chance I can jump in.
Thursday 7 October 2010
Looking at the heights when comparing drawings resulted in varied outcomes. As there as several different levels, in particular around the new extensions I have simplified them. Specific ramps around the doorways will be added as filler parts once the main heights have been fixed.
Wednesday 6 October 2010
I have cut the pieces for my baseboard from foamex slightly oversized to allow the site grounds to fit entirely (previously it had cut approx 15mm of land near the garden store out). The dimensions for the new base are 600 x 440 x 100mm.
Having discussed using foamex with Paul Johnson He suggested using thixofix contact adhesive to stick it together. Having made several bases out of this over the summer I am keen to use the solvet glue I brought from Technical Models Ltd called Tetrahydrofuran, more commonly known as 'Bomb'. Due to the high solvent level in Bomb I'll have to use it outside on a bench to ensure the fumes can vent.
Tuesday 5 October 2010
Taking from my experience at Technical Models Ltd over the summer I will create my base using Foamex board and acrylic.
This base size just covers the site itself. A 'skirt' piece around the edge will be added later to allow an acrylic cover to slot over the model for protection.
The elevations show a minor decline in the surrounding landscape towards the south east end of the church. I will create this using batons shaped accordingly. I will add an additional 10mm to the height of these batons to accomodate the footing of the church itself.
I have just recieved a reply from Jim at DeSantis Philipson and now have their full Google sketchup model which will be of great use when it comes to visualising each new part come together (screenshot at top).
I came by the Didsbury Baptist Church website today at: http://www.didsburybaptistchurch.org.uk/
Although there isnt a great deal of Architectural information on the web site it is interesting to see the number of groups and interested parties that use the church on a regular basis.
By the end of the week I need to complete my learning agreement and hopefully have the main section of the base completed. Tomorrow I need to think over the construction, detail and colour finish of the main building.
Monday 4 October 2010
Getting started
In short, the development consists of 2 main extentions to an existing church dating back to 1900. The model must show these extentions aswell as the main internal changes being made to support them (the main change being a change of floor height to accomodate disabled visitors.).
Planning has been approved for the developments (shown above) and the model will be on display within the church itself leading up to the start of construction up until completion. Currently the poposed start date is sometime within February
I went to the site of the church over the summer to take photos of the interior and exterior of the church which will be vital to my understanding the layout and look of the church (below).
I have also been able to aquire almost all of the architectural CAAD files (I'm waiting for others) which once again will be vital for the construction of this model.
I have contacted the architect (Jim DeSantis) again to aquire further CAAD files and his sketchup model file to help with my development and eventual construction of the model.